Sunday, October 2, 2011

Farm Stand Corn & Mushroom Tortilla Salad and the great Rocky Mountains

I came across this recipe while I was browsing food porn, I mean photos, on Pinterest (my latest guilty pleasure). I immediately "pinned it" to one of my boards. Then a few weeks later I found myself at the farmers market where fresh corn and corn tortillas were being sold. Excellent! There were also tons of mushrooms. I bagged about 2 cups of shitake...perfect for this dish.
The recipe is from New York based chef Aliya LeeKong. It is bright and "filled with end of summer flavors" - using fresh farm corn and grape tomatoes. It's very easy to make and incredibly flavorful.  
I've been getting into Mexican-style dishes because Mexican cuisine is a big part of Colorado cooking. There are chiles everywhere, so finding a nice looking jalapeno isn't very difficult. Fresh cilantro and some queso fresco top this little number off. It's the perfect lunch bite.  
Farm Stand Corn & Mushroom Salad (Adapted only slightly from Aliya Lee Kong)
Ingredients
Yields 2 servings
4 corn tortillas (the thinnest you can find)
Butter and olive oil
1 1/2 cup shitake mushrooms, thinly sliced
1 shallot, finely chopped
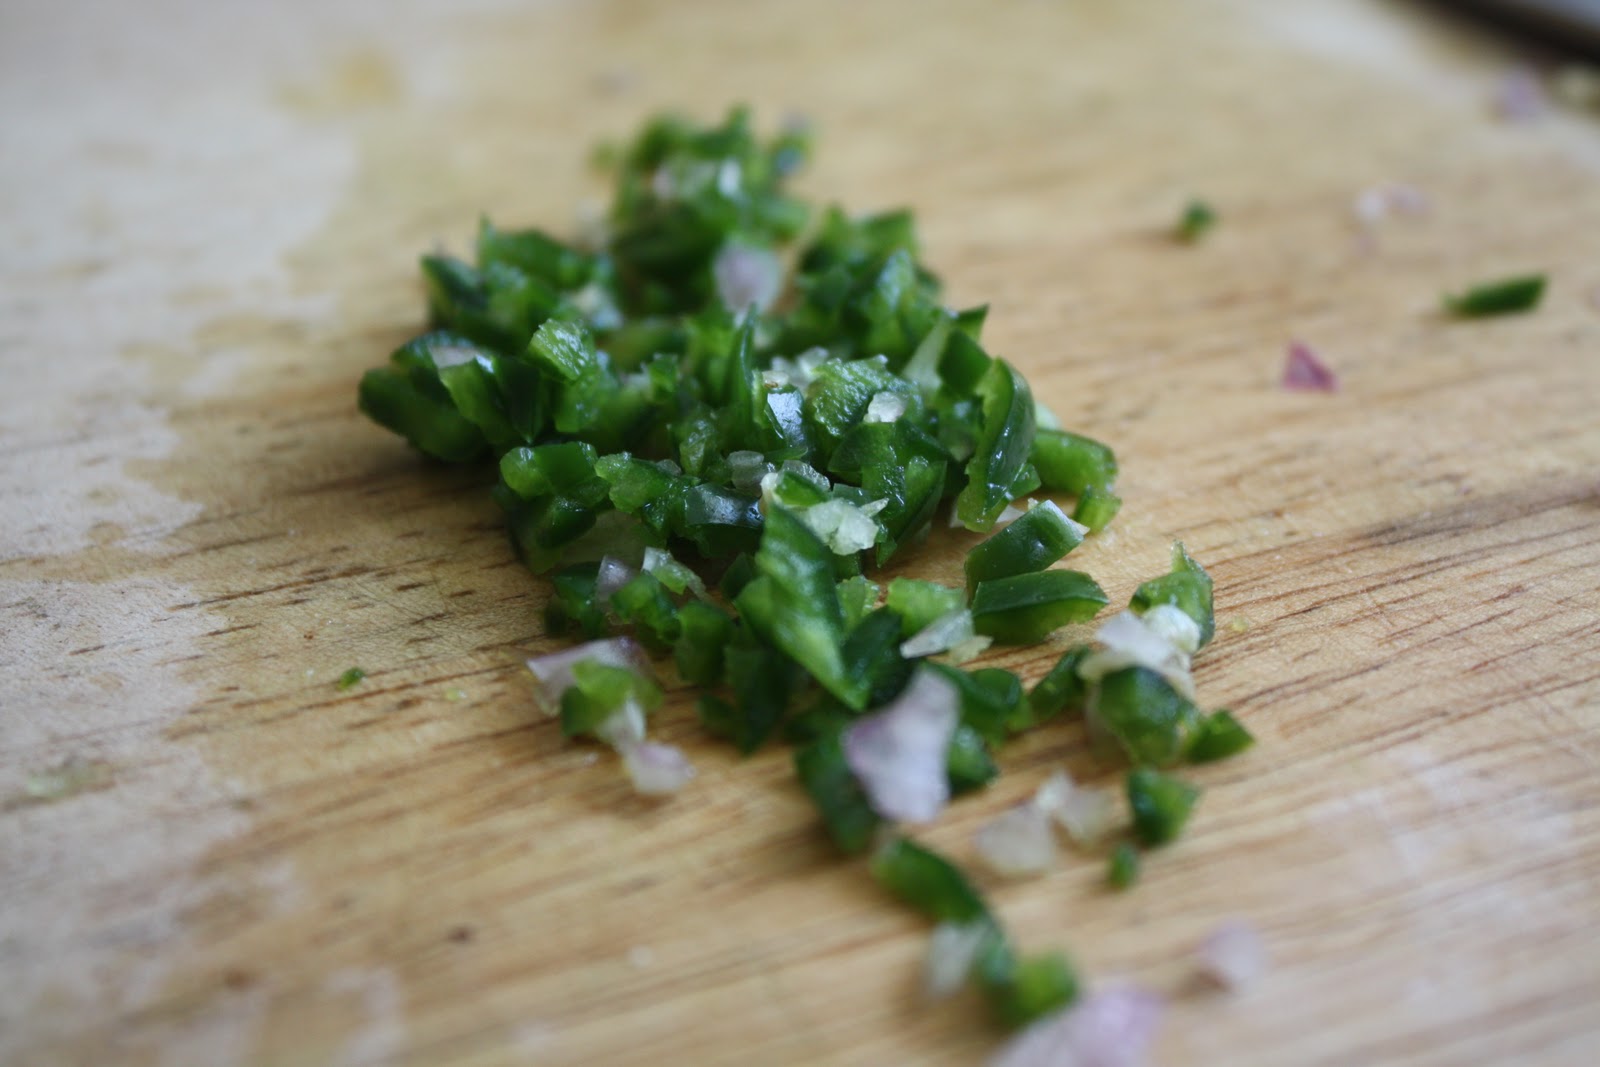
1 jalapeno, seeded and finely chopped
1 1/2 cups fresh corn kernels (about 2 ears)
12 grape tomatoes, halved
small handful of cilantro, chopped
farmer’s cheese or queso fresco
salt and freshly ground black pepper
Procedure
The first step is to make the tortilla “bowls.”  Rather than deep-frying to achieve pliability and moldability, I like to go a bit healthier and just use a skillet with a touch of butter and/or olive oil to get similar results. While doing this, you’re going to use small bowls that fit inside each other to mold the tortillas.  They will not turn out as crisp (and using thinner tortillas will help), but this method makes me feel better about calling this a salad.
Simply heat a medium-sized skillet over medium-high heat.  When hot, add the tortilla and flip at intervals until it puffs and browns a bit.  You’ll feel the edges start to get crispy.  At this point, add a ½ tablespoon of butter or olive oil and let coat the tortilla.   Place a small bowl upside down on a cookie sheet.  Remove tortilla carefully and place on top of the overturned bowl.  Take another bowl, overturned, and put it on top.  It should mold the tortilla to the shape of the bowl and hold it in place as it cools.   Repeat for remaining tortillas, and let cool while preparing the rest of the ingredients.
Heat the same skillet over medium-high heat, and add another tablespoon of butter with 1 to 2 tablespoons of oil.  When the foam subsides, add the mushrooms and let sit undisturbed in a single layer for about 2 minutes.  You want to develop a nice, golden brown on the mushrooms and bring out the flavor.   Stir the mushrooms and sauté for another minute or two to cook through.  Add salt at the end to taste and, using a slotted spoon, transfer to a bowl.
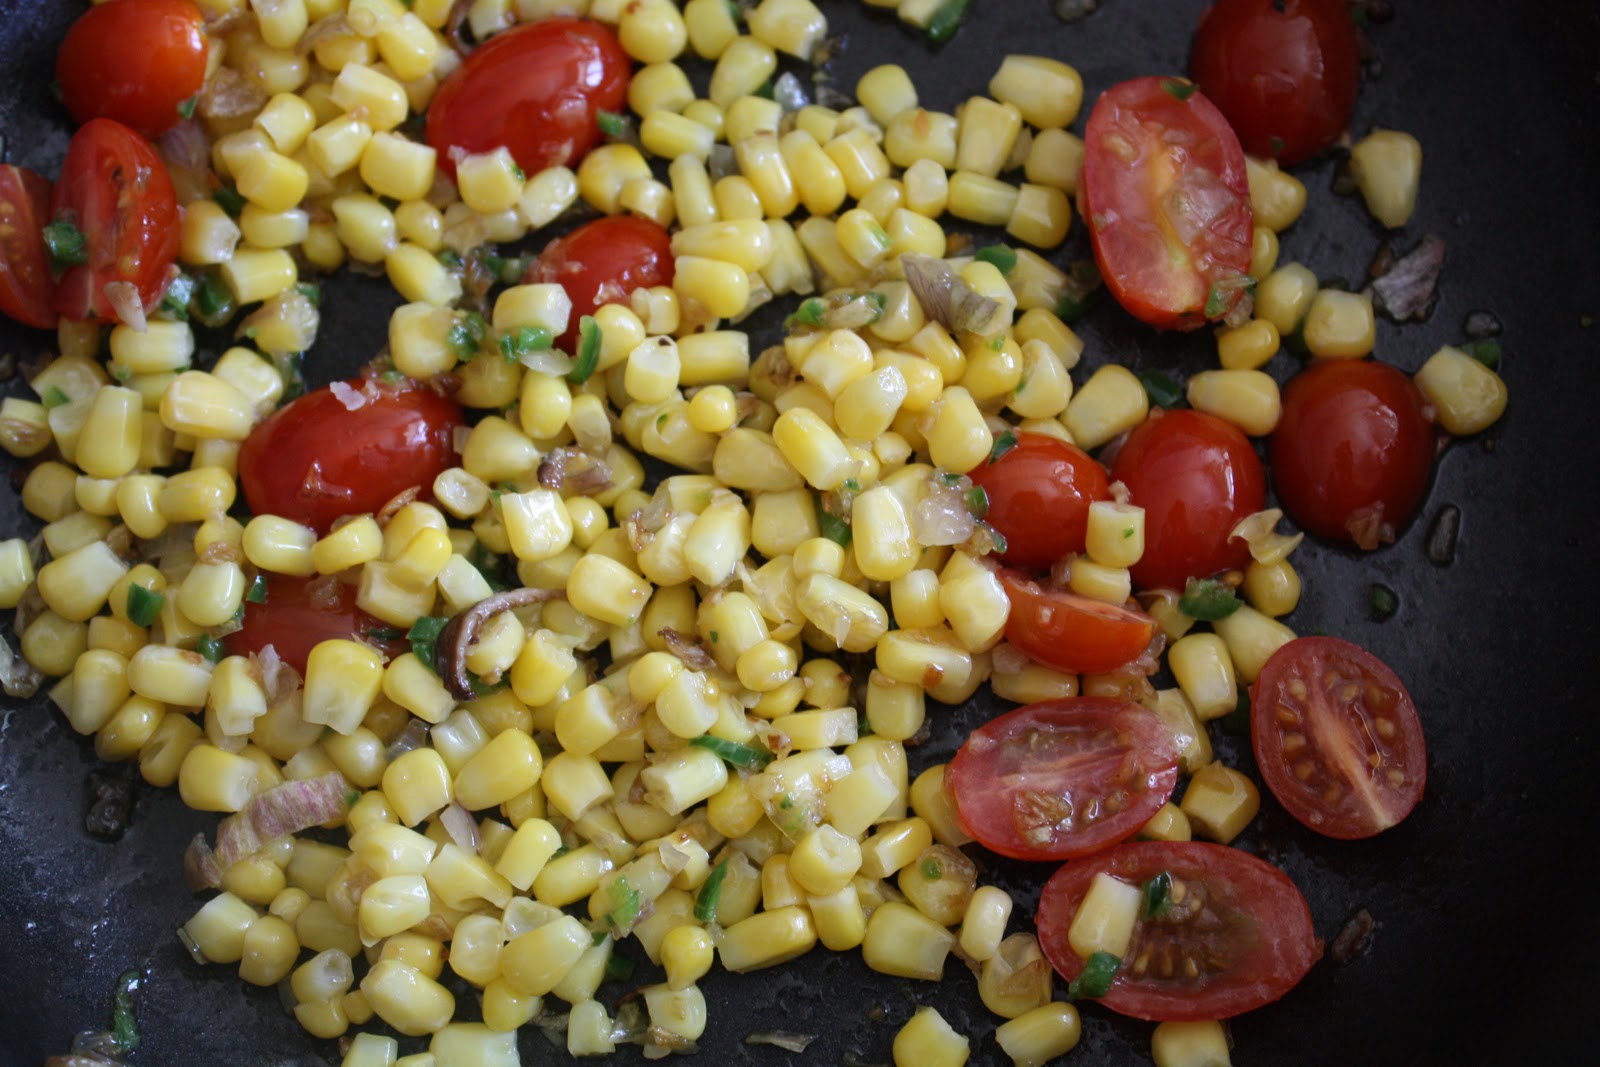
Add another tablespoon or two of butter or olive oil to the pan.  Add shallots and jalapeno and a bit of salt to draw out the moisture.  When shallots are translucent (about 3 to 4 minutes), add corn kernels and tomatoes and toss to mix thoroughly.  I like to crank the heat up a bit here to develop a more roasted flavor to the corn, but be careful because the corn can start to pop a bit.  Cook for 5 to 7 minutes until corn is cooked through and tomatoes have puckered a bit.
Remove from the heat, toss back in the mushrooms, season with salt and freshly ground pepper to taste and add some chopped cilantro, reserving some of the cilantro for garnish.  Spoon mixture into tortilla bowls and dollop farmer’s cheese or queso fresco to your heart’s content.  Garnish with remaining cilantro and serve warm or room temperature.
* * *
Colorado is an exceptionally beautiful place. We are fortunate to live about a two hour drive from Rocky Mountain National Park. I fell in love with our National Parks when my parents took me and my brother on a cross-country road trip. We were 11 and 10, respectively.  It was kind of Ken Burns meets National Lampoons Vacation. It was very memorable!
Since that trip almost, um, 25 years ago (eek!), I've been to Glacier, the obscure and kinda-hard-to-get-to Big Bend National in Texas, Everglades, Yellowstone, Yosemite, Grand Canyon, Painted Desserts,  Grand Tetons,  Olympic National and Mt. Rainier. For some reason the Rocky Mountains eluded me. Until now.  
I was thrilled when we decided to take an ambitious day trip to the park. For 'normal' people, a 4 hour round-trip expedition wouldn't be such a big deal.  But for us that is something exceptional since we have a 2 year old toddler and an 8 week old in tow. But we did it.    
The fall foliage was incredible. The Aspen trees were beautiful. And the Elk were mating so they were everywhere.  And I do mean EVERYWHERE.  They were on the highway, the golf course, in the park and by the river.  There were females, young calves and giant males with massive antlers. It was quite a show. As my husband and I were watching the herd cross in front of our car, Otis woke up from his afternoon slumber. He thought it was pretty strange to see the animals all over the road. With his eyes bulging he screamed out, "Moose!  Moose!" Close enough. We told him that they were Elk, he thought about it, and then he screamed, "Elk! Elk!" It was priceless. 
Below are a few shots from our outing...
From the car window...
Follow Me on Pinterest

Tuesday, September 27, 2011

Ringing in the New Year with A Beet and Apple Salad

I was going to try and make a challah bread recipe from Cooks Illustrated, but then I realized that I don't know how to bake at altitude, so I abandoned that idea. Here in the Mile High City (my new adopted hometown), certain adaptations have to be made when baking because the altitude interferes with leavening. There is a book called Pie in the Sky, and it's supposed to help you navigate through these baking concerns. Unfortunately, my copy hasn't arrived yet. I heard rumors that Hungarian flour helps with the altitude problem, but I don't really know much about it. So before I delve into baking here in Denver, I'm going to get more informed. 
That leaves me with a vexing question: What will I make for Rosh Hashana, the Jewish New Year, which starts this week?
In addition to consuming tons and tons of challah bread, there is also a custom to eat apples. More specificially, apples that are dipped in honey-- which symbolizes the desire of adherents to have a sweet New Year. I came across this recipe for Beet & Apple Salad and decided to give it a try.
The recipe is a creation of George Mendes who was named one of the country's top chefs by Food & Wine Magazine. I like the idea of using apples this way...and it will do the trick while I figure out how to get this challah bread going. There's also horseradish in the vinaigrette and that works with the holiday too. 
I also plan on making a Honey-Spice Cake (Lekach) but that will have to wait until my new Bundt Cake Pan arrives.  Hopefully, it will come sometime real soon or I'll be making the cake for the solar new year!
In the meantime, shana tova u'mitukah!
Beet and Apple Salad (Courtesy of George Mendes, by way of Food & Wine Magazine)
Ingredients
4 large beets (2 1/2 pounds)
5 thyme sprigs
1/2 cup extra-virgin olive oil, plus more for drizzling
Salt and freshly ground pepper
1 teaspoon Dijon mustard
3 tablespoons prepared horseradish (I used slightly less, opting for 2 tablespoons instead.)
1/3 cup salted pistachios, chopped
1 green apple, thinly sliced
Directions
Preheat the oven to 375°. In a baking dish, lightly drizzle the beets and thyme with olive oil. Season with salt and pepper. Cover with foil and roast until the beets are tender, about 1 1/2 hours. Let cool, then peel the beets and cut them into 3/4-inch dice.
In a large bowl, whisk the vinegar with the mustard. Whisk in the remaining 1/2 cup of oil until emulsified. Add the horseradish and season with salt and pepper; toss with the beets and pistachios (I dressed the beets, but there was LOTS of left over dressing.  Just store it and use it again!)  Transfer the beets to a platter, top with the apple and serve.

Follow Me on Pinterest

Monday, September 26, 2011

Moosewood's Spanakopita


Spanakopita: spinach, cheese, and filo dough flakiness. I love it. It's the kind of thing I could eat for lunch and dinner- on the very same day. If I could only eat one thing for the rest of my life, spinach pie would be in the running. I think you get the picture. I'm pretty serious about this dish. I've made spanakopita  (Greek spinach pie) many times before and I thought my go-to recipe was really good. That is, before I tasted this Moosewood recipe, which is pretty much perfect.
The first time I had this Moosewood version was at a going-away party some friends threw for us right before we left Brooklyn. The gathering took place in a penthouse apartment overlooking Grand Army Plaza and Prospect Park. The views were spectacular and you could see the city skyline and the harbor from the roof deck. There were lots of friends sharing stories and yes, I shed a few tears that night. It was a wonderful way to spend the evening- and it was bittersweet to be leaving such great people, but also really exciting to be relocating and trying something new in Denver, Colorado.

The food at the party was incredible. There was pasta, cheese plates, salads and our friend Beth made this spinach pie. The meal was capped off with an amazing devil's food cake soaked with salted caramel, layered with whipped chocolate ganache and frosted with a classic French buttercream (holy delicious!) made by friend Kathryn of Cooking Inside the Box. But I'm not really a baker so I knew there was no way I was going to be able to replicate the perfection of the aforementioned cake.  I was confident, however, that I could make the spinach pie, so I asked for the recipe.


This pie is not hard to make, but chopping 2 1/2 pounds of spinach does take some time. In the interest of full disclosure I will tell you that I now routinely use frozen organic spinach in this recipe.

You can buy good quality frozen filo dough (phyllo dough) at most supermarkets in the frozen section near the pastry shells- just don't forget to take it out of the freezer when you start prepping. It must be completely thawed otherwise it will break and flake and, well, just become a mess. You want the sheets to be malleable and intact.  

This dish can be made a day or two in advance. Keep it uncooked, covered and refrigerated until you want to serve it. Then put it in the oven, uncovered, and cook for 45 minutes.


Enjoy this recipe. And trust me, this spanakopita is worthy of the (Greek) Gods...


Spanakopita
(Courtesy of The Moosewood Cookbook, adapted ever-so-slightly)
Yields: About 8 servings
Filling:
2 Tbs olive oil 
2 cups minced onion
1/2 tsp salt
1 tsp oregano
1 tsp basil
2.5 lbs fresh spinach, stemmed and finely chopped (or 2.5 lbs frozen organic spinach)
5 medium cloves garlic, minced
3 Tbs flour
2 to 3 cups (packed) crumbled feta cheese (about 1 lb)
1 1/4 cup cottage or pot cheese
Black pepper, to taste
1/3 to 1/2 cup olive oil, for the filo
1 lb filo pastry leaves (approx. 20 leaves) -- thoroughly defrosted 

Directions
Preheat oven to 375 F. Oil a 9 by 13 inch baking pan.

Heat 1 Tbs olive oil in a Dutch oven. Add onion, salt, and herbs, and sauté for about 5 minutes, or until the onion softens. Add spinach, turn up the heat, and cook, stirring, until the spinach wilts (5 to 8 minutes). Stir in the garlic.
Sprinkle in the flour, stir, and cook over medium heat 2 to 3 more minutes. Remove from heat.

Mix in the cheeses. Taste to correct seasonings, adding lots of black pepper (and some salt).

Place a sheet of filo in the oiled pan, letting the pastry edges climb up the sides. Brush lightly with oil, and add another sheet. Keep going until you have a pile of 8 oiled sheets. Add half the filling, spreading it to the edges, then repeat with 8 more sheets of oiled filo, followed by the remaining filling. Layer the rest of the filo over the filling, brushing oil in between. Oil the top, tuck in the edges, and bake uncovered for about 45 minutes or until golden and crispy (sometimes it's been closer to an hour). Cut into squares and serve hot or warm. 

Follow Me on Pinterest